In recent years, there has been a growing interest in automating IT processes to save time and boost productivity. This is what we call RPA: Robotic Process Automation. Today, DataScientest presents a tutorial on how to create an RPA process on Microsoft with Power Automate. Let’s start with an introduction to Power Automate
What is Power Automate?
Microsoft Power Automate is the successor to Microsoft Flow. It is a cloud-based service for creating online workflows to automate actions or business processes in Microsoft applications and services. Power Automate is one of the so-called “low code” applications (a “low code” application is one where there are very few lines of code to program).
With Power Automate, you can set up processes of varying complexity, such as :
Synchronize a database;
Automatically save e-mail attachments from Outlook in a dedicated folder;
Capture, locate and track new prospects (potential customers);
Protect your company data;
Collect company data and share it with your team;
Respond instantly to high-priority emails.
Now that we know a little more about Power Automate, let’s get down to business! We’re going to create a feed to receive daily reminders in our Outlook mailbox.
How do I create a feed on Power Automate?
To use Power Automate, you’ll need a Microsoft 365 account.
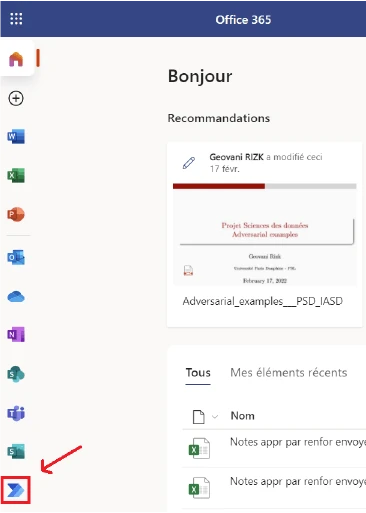
Step 1: Go to your Microsoft 365 Office account!
In the left-hand sidebar, you can click on the Power Automate logo:
The Power Automate interface opens:
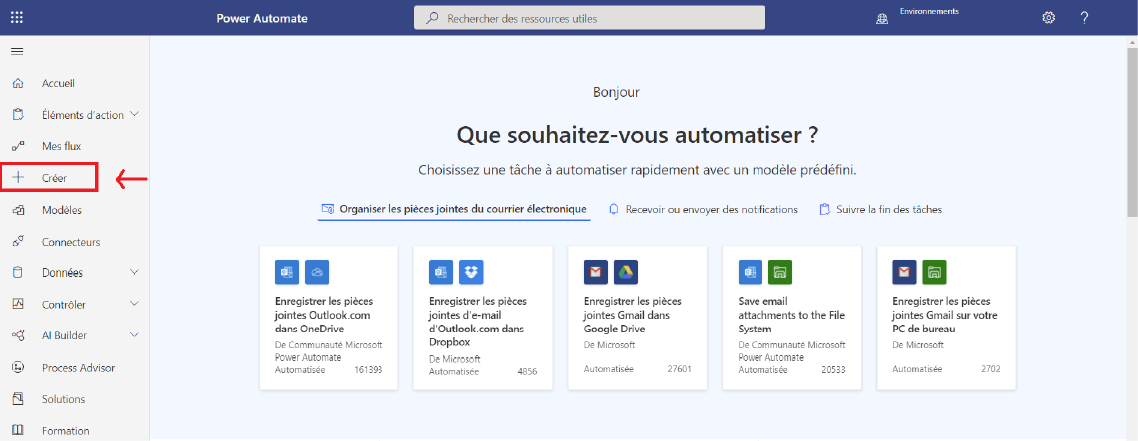
Step 2: Define flow creation
Remember, we’re trying to create a feed to send daily reminders to our Outlook mailbox! So let’s click on “Create”.
Then we find ourselves on this interface:
There are three ways to create a feed:
Start from scratch: Create a completely customized flow, just as you want it from A to Z. Start from a template: This allows you to create flows from a predefined template and then customize them. Templates are organized according to your needs: Remote work, Email, Notifications…
Each template specifies :
the applications used ;
the purpose of the template, with a description ;
template source;
task type.
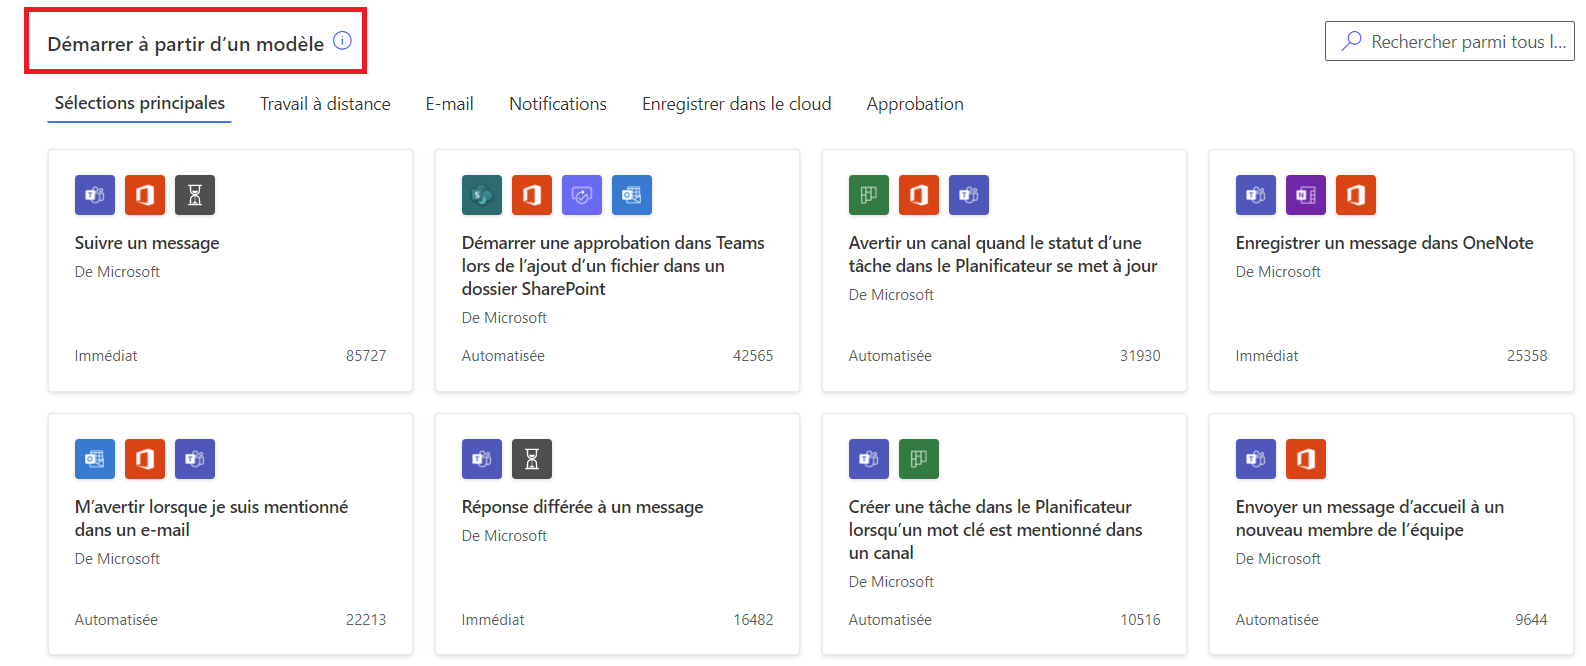
For example, for this model :
The applications used are Gmail and DropBox, the template saves Gmail attachments in a DropBox Folder, the template source is Microsoft and it’s an automated task.
There are 3 types of workflow tasks:
Automated: Automate a flow by a chosen event.
Scheduled: Schedule a flow automation by defining the frequency and timing of its execution.
Instantaneous: Start the flow manually when you wish, with a single click.
Start from connector: the idea is to select a connector (you can also access it from the connector page) where you can connect to different data sources: OneDrive, SharePoint or Twitter.
In this tutorial, we choose to create a feed from a template.
Step 3: Define the flow from a model
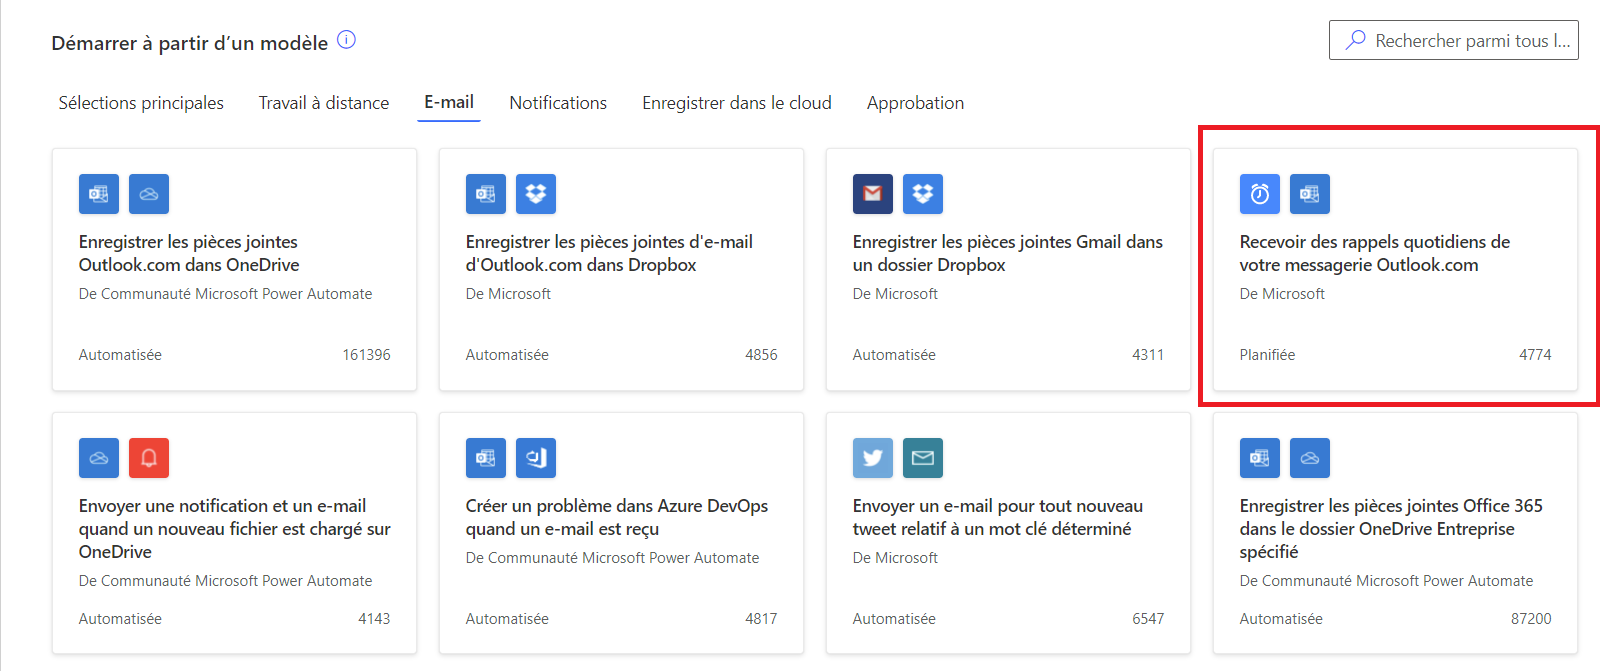
On starting from a model :
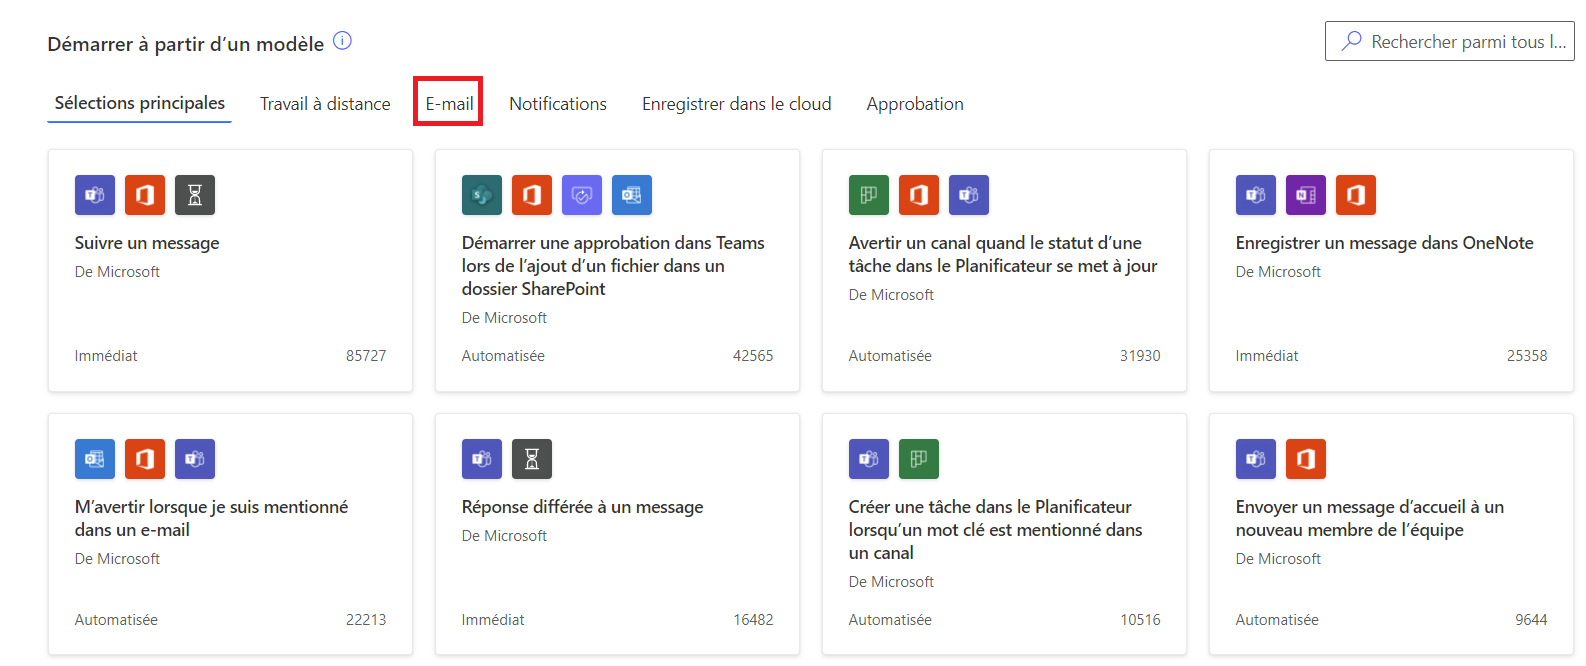
Click on E-mail :
Then click on Receive daily reminders from your Outlook.com mailbox:
The application used here is Outlook, the template allows you to receive daily reminders from your mailbox, the template source is Microsoft and it’s a scheduled task.
Click on it:
Now we specify the connectors the task will use: here, the only connector is Outlook, and you can connect by specifying your e-mail address.
On clique sur Continuer pour passer à l’étape suivante !
Step 4: Customize the template
We’re now going to customize our predefined template.
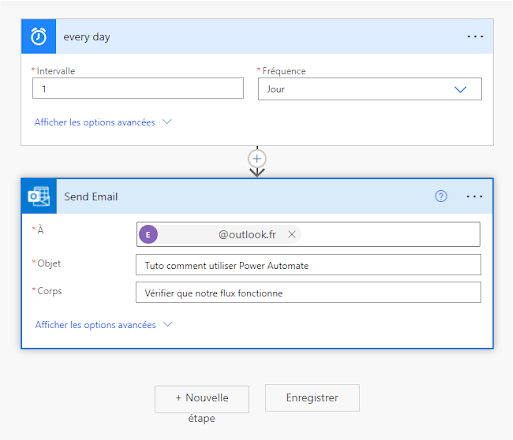
In the first box, every day, you specify the frequency at which you wish to receive the e-mail: by month/week/day/hour.
We choose to keep the default frequency. We receive this e-mail every day.
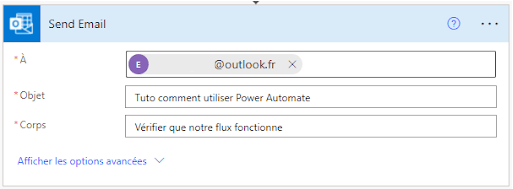
In the second box, you specify who will receive the e-mail (you can specify several e-mail addresses, separating them by semicolons), the subject and the body of the e-mail.
Choose the e-mail address to which you wish to receive the e-mail, the subject line: How to use Power Automate and the body line: Check that our flow is working.
If you click on
Show advanced options: you can add attachments, importance, etc. Next step: you can further customize your operations by selecting from a range of actions and connectors.
Finally, we click on Save to create our feed.
Step 5: Check that the flow is operational
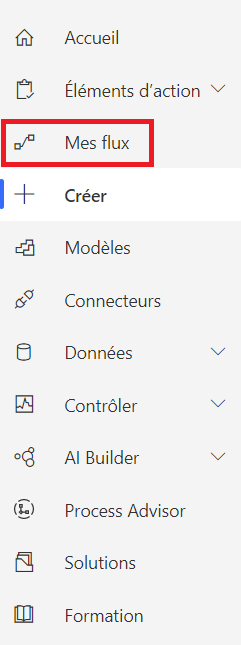
Now let’s check that the feed is working. In the left-hand sidebar, click on My feeds to access the list of feeds currently online.
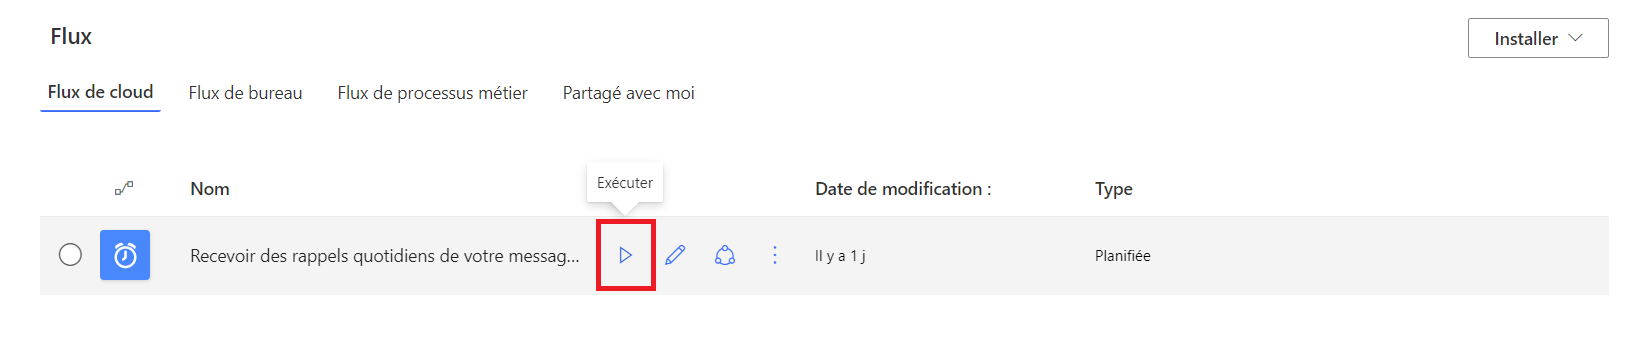
Our feed appears! When you move your mouse over our “Receive daily reminders from your mailbox” feed, a little play icon appears with the word Execute :
Click on it to test that our feed works!
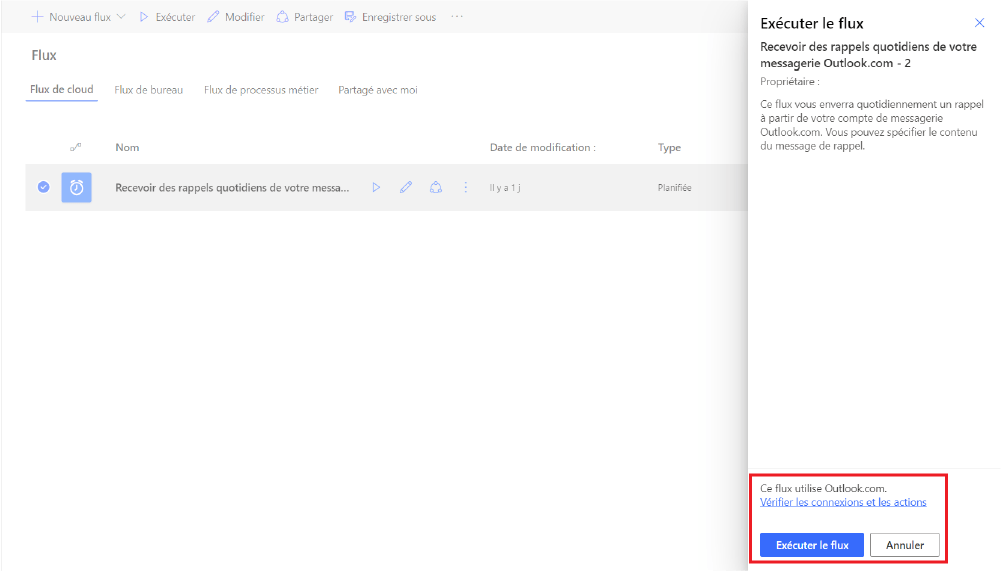
A page appears on the right. Click on “Run feed”.
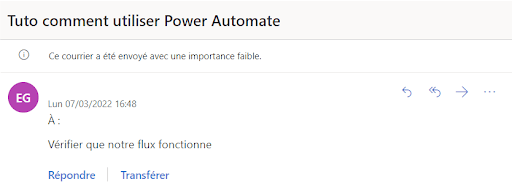
Step 6: Go to your e-mail address!
We’ll now go to the e-mail address selected to receive the notification to check that we’ve received the automatic message!
We’ve just seen how to create a feed from a template on Power Automate in 6 steps!
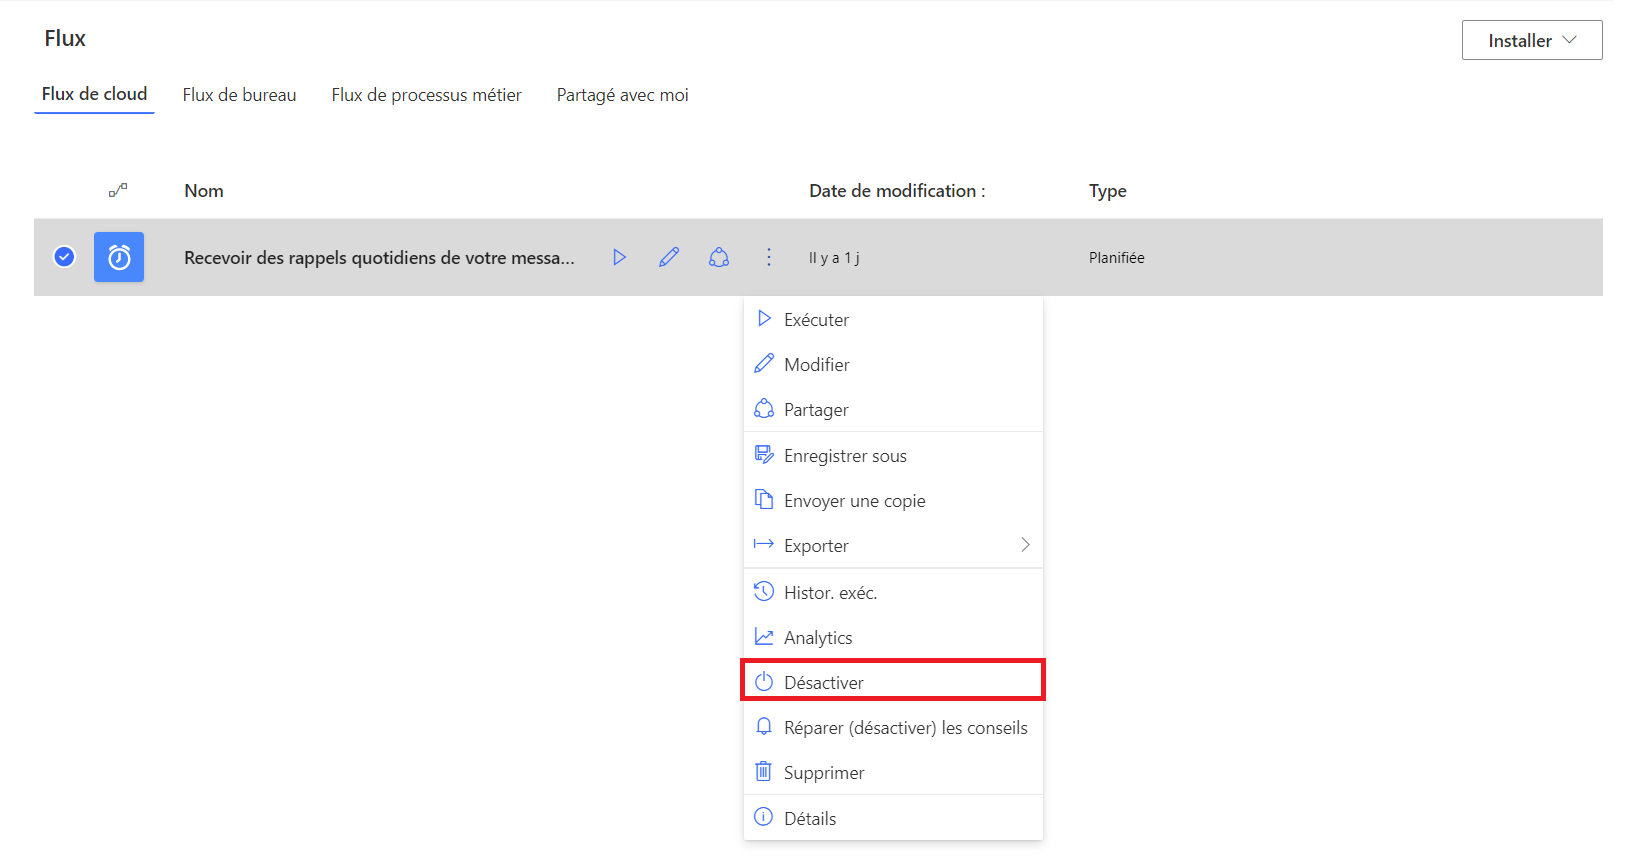
If you no longer wish to receive this daily e-mail, you must :
Return to Power Automate ;
Move your mouse over “Receive daily reminders from your mailbox” in the My feeds section;
Power Automate automates all tedious or repetitive tasks. We’ve just seen how to create a scheduled flow from a model. If you’d like to find out more about Microsoft Power applications, and in particular Power BI, one of the most widely used Business Intelligence tools today, don’t hesitate to consult our training offer…