We have the answers to your questions! - Don't miss our next open house about the data universe!

Project Environment Preparation: Essential Steps for Smooth Workflow

- Reading Time: 3 minutes
Project Environment Preparation: Essential Steps for Smooth Workflow

Introduction

If you are getting started on a Data Science project, this article will be of interest to you!

Before starting a Machine Learning project, it’s crucial to prepare and organise your development environment properly!

In this article, we’ll show you how to set up and prepare your environment in several stages.

a) Settings

Before getting started, it’s important to make a few adjustments to your working environment. This step is an essential prerequisite before tackling the root of the problem.

Power BI REST API: what is it and how do you use it? April 25, 2024 - Reading Time: 7 minutes Business Intelligence Power BI Rest API With Power BI REST APIs can be used to perform integration, administration and governance tasks. In particular, they provide programmatic access to datasets or reports. Find out how you can use these tools to go beyond the limits of Microsoft's Business Intelligence platform! Microsoft’s Power BI platform offers a complete business intelligence solution. It enables data to be collected, analysed and displayed. In just a few years, this tool has simplified access to Business Intelligence thanks to its intuitive interface. It is now a benchmark in the BI market. One of the many strengths of Power BI is the ability to access datasets and reports via a REST API. Read on to find out how. 💡Related articles: Power BI Desktop download and installation guide I DataScientest Power BI Time Intelligence: Everything you need to know about these DAX functions Power BI Report Builder: What is it? How do I use it? Incremental Update Power BI: Microsoft’s Business Intelligence solution What is Power BI? Microsoft’s Power BI platform is a complete Business Intelligence solution, enabling companies to establish a data-driven culture within their organisations. Thanks to this tool, employees can access the benefits of self-service data analysis without having to call on IT teams. The various components of Power BI enable data to be collected from a wide range of sources, analysed and visualised, and dashboards and reports to be created. A wide variety of data sources are supported thanks to ready-to-use connectors. These range from locally-used software to third-party sources and cloud services. This platform offers a number of advantages. First and foremost, it is an intuitive and accessible tool, available on PC, mobile and as a cloud service. Its drag-and-drop interface makes it easy to generate customised reports. However, it is also possible to go into more detail on a visual to explore the data in greater depth. Natural language queries eliminate the need for complex query language. What is a Power BI REST API? An API is an Application Programming Interface. It is a type of software interface that enables two applications to communicate with each other. In simple terms, it is a way of transmitting and obtaining information without having to deal with the technical aspects. The acronym REST stands for “Representational State Transfer”. A REST API is therefore a representative state transfer programming interface. In short, it allows you to search for elements of a service by making a request. These APIs are designed to guide the development and design of architecture for the World Wide Web, and define a set of constraints for the behaviour of the architecture of a distributed system. They offer a flexible and lightweight way of integrating applications. Simply perform a search, and the results are returned from the service on which the request was made. A REST API is made up of several components. The “headers” are the authentication mode and the content types. The “method” is used to call a REST API. There are several, but the most common are POST and GET. The GET method is used to assemble information, while the POST method is used to send information to resources on the web. The “Endpoint” is the URL of the resource to which the requests are made. Finally, the “Data” or “Body” designates the textual data in JSON format to be sent to the resource. For a REST API to work properly, several design principles must be respected. Firstly, the server and client applications must be completely decoupled and independent of each other. On the client side, the only information available must be the URL of the requested resource. The server application must only transfer the requested data to the client via HTTP. Another feature: a REST API is Stateless. This means that each request must contain all the information required for processing, and that no server-side session is necessary. Storage of data linked to client requests is not authorised for the server. Resources must also be cached wherever possible on the server or client side. Server responses must also contain information indicating whether caching is permitted for the resource being delivered. The interface must be uniform, and all API requests for the same resource should be similar regardless of where the request originates. Finally, calls and responses must pass through different intermediate layers. In order to access the Power BI REST API securely, it is necessary to start with an embedded token request that enables APIs to be called and functions to be executed. This can be done using Postman. This free tool allows you to make POST or GET calls for different URLs and save the results in a collection. All you need to do is download it from its official site. What are the benefits of the Power BI REST API? Using a REST API on Power BI, it is possible to organise or integrate content and perform governance administration tasks. It enables custom applications to be built to deliver data to a Power BI dashboard using programmatic access to dashboard components such as datasets, tables or columns. It is possible to obtain or create datasets, obtain or update tables, add or delete rows, as well as perform group, import and dashboard operations. How do I configure a Power BI REST API connection? Using a REST API, it’s easy to connect a data source to Power BI. The first step is to register an application for Power BI, by going to the Developer Portal and logging in with your credentials. Once logged in, simply click on the ‘Next’ button to continue the integration process. To register the application, give it a name and choose its type: server-side or native. Enter a homepage and redirect URL, and define the API access permissions for the application. Give read access permissions for datasets, reports, workspaces and dashboards. Then click on the register button to start creating the application. Copy the key and the secret response to a secure location, as you will need them later. The second step in the Power BI REST API integration is to authorise the users of the application. This requires the Application ID and access token. The connection URL needs to be prepared, accepting various parameters such as Scope, State, ResponseMode, CLietnID, ResponseType and RedirectURL. Copy and paste the URL into your browser and press enter. Approve the user consent request, and the user will be redirected to the redirect URL specified in the API request. This request usually carries a code that can be used as an authentication method to call the APIs securely. If no web application is running on the web host, an error code will appear. In the “URL required” section, you will find a text. Copy it and store it safely. Once you have the code, the next step is to generate an access token. This requires an endpoint to be called using the POST method. The access_token is a value to be used when calling the Power BI REST API. Copy and store this value safely. You can now call the REST API and collect the details you need. Use the access token as an authorisation method in the header of a GET request. Scopes and Main Service of Power BI REST API To use the Power BI REST APIs, you need to register an Azure Active Directory (Azure AD) application on the Microsoft Azure cloud. The Azure AD application sets up permissions for Power BI REST resources, and allows access to the Power BI REST APIs. Once an Azure AD application has been registered, it is possible to authenticate using Microsoft endpoints or Azure AD. To add permissions (scopes) to an Azure AD application, simply open it on Azure, select API Permissions from the management menu, and choose “add a permission”. In the query API permissions window, choose Power BI Service. Select “Delegated permissions”, and choose the APIs for which you want to add permissions from the list. On the other hand, to remove scopes, open the application on Azure and choose “API permissions” from the management menu. Choose the context menu and click on the delete permission option. However, scopes are not required when using a “Principal Service”. This is an identity created within Azure to allow access to Azure resources including hosted applications, tools and services. Once a Master Service has been activated for Power BI, the application’s AD permissions no longer have any effect. Permissions are managed directly via the Power BI administration portal. 💡Related articles: DAX Power BI: all about the query programming language Dataflow Power BI: everything you need to know about the self-service ETL tool Power BI Direct Query: All you need to know about this data query method Power BI license: What does it cost? Power BI vs. Tableau: Two tools Excel vs. Power BI: What are the differences? Import data and update dashboards in Power BI REST API A REST API can also be used to import data into Power BI from other services. You can also automatically update a Power BI dashboard by scheduling a data refresh. From the Power BI for PC application, simply click on the ‘Get Data’ button. You can then choose the ‘Web’ option and provide the endpoint URL of the REST API from which you wish to extract the data. Imported data is generally in JSON format. It is therefore preferable to convert it into a table, so that you can then create models and visualisations from this data. To do this, right-click on the data in the Power Query editor and select the convert to table option. A button then allows you to extend the attributes of the JSON data, and choose which attributes to include in the data model. Once you have created visuals on a report using the imported data models, you can create a dashboard to share these visuals by publishing them on the online version of Power BI. There is also an option to schedule an automatic refresh of the dataset. On the online version, right-click on the dataset and choose the update schedule option. This feature enables Power BI to regularly collect new data from the REST API endpoint and update the visuals on the dashboard. How do I master Power BI? REST APIs are just one of the many facets of Power BI. To learn how to master this platform in its entirety, DataScientest is the place to be. Our Power BI training is divided into two parts: beginner and advanced. The first part lasts 24 hours spread over 3 days, and teaches you how to use tools such as DAX and Power Query to analyse data and create dashboards with Power BI. The second part lasts 14 hours over 2 days. It allows you to deepen your understanding of Power BI by discovering the subtleties of each service and the more complex concepts such as DataFlows and Incremental Refresh. Finally, the Complete Mastery course combines the two courses and covers 38 hours over 5 days. This course is designed to give you complete expertise in Power BI. As a Microsoft Learning Partner, DataScientest enables you to take the Microsoft PL-300 certification exam to become a Power BI Analyst Associate. All our teachers also have Microsoft Certified Trainer status. And don’t worry about funding: our government-recognised organisation is eligible for different funding options. There’s no time to lose in discovering DataScientest! Discover our Power BI training

The first question is which code support you are going to use: there are several solutions for installing Python.

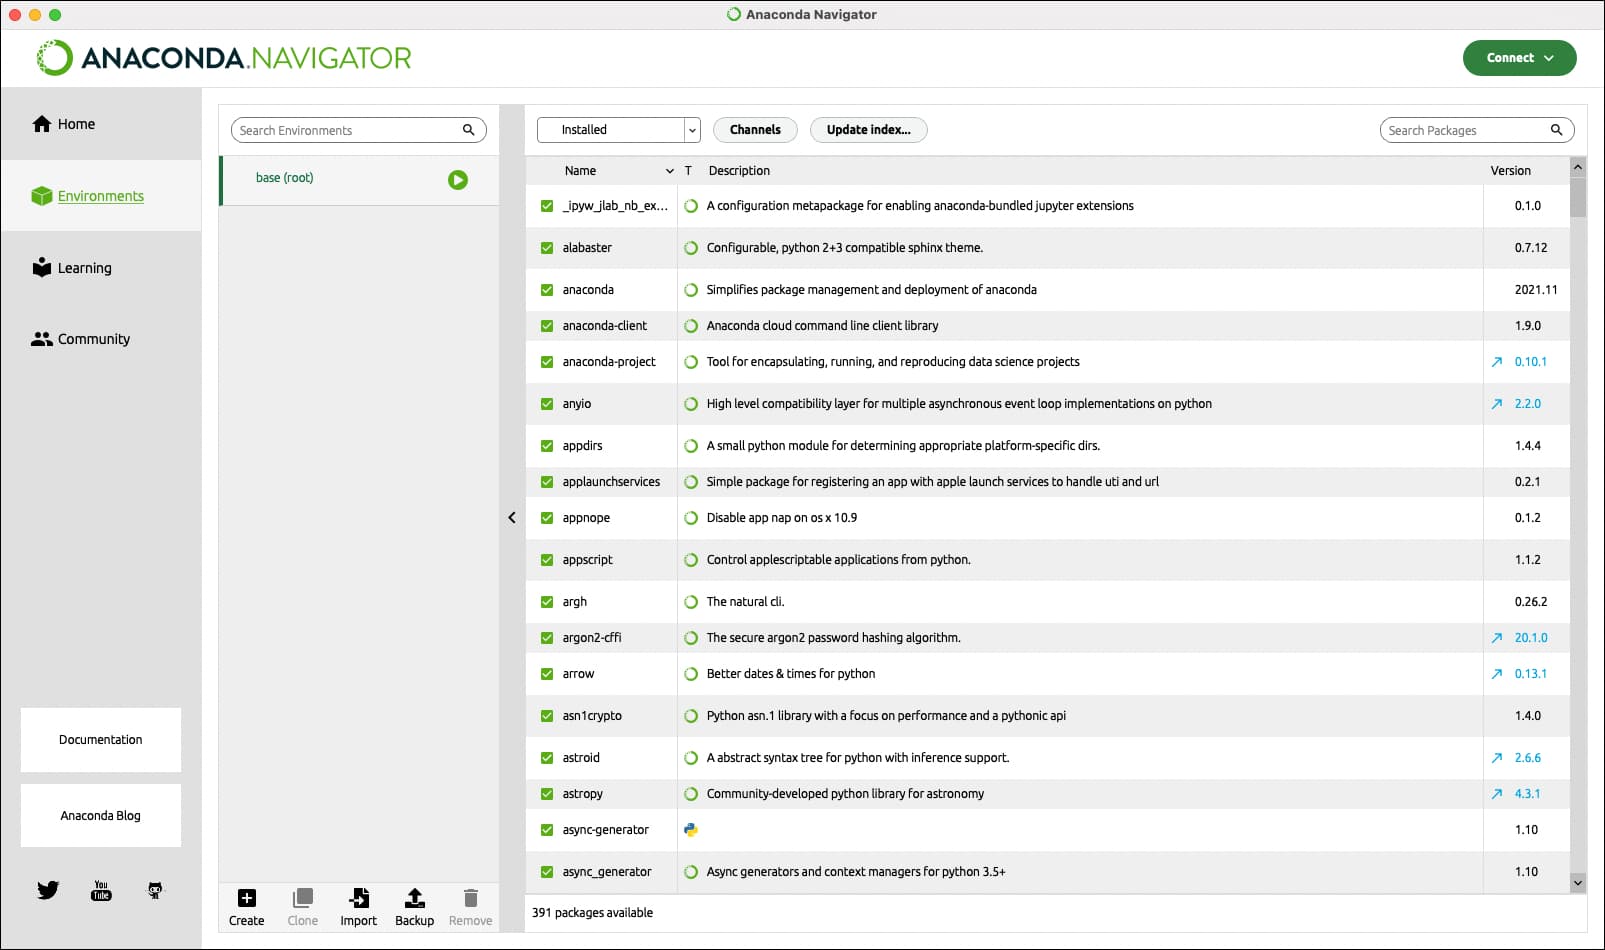
You can use Anaconda, Spyder or any other suitable IDE (or development environment).

Generally speaking, we recommend using Anaconda for several reasons:

  1. Firstly, Anaconda’s features integrate well into your environment and are very easy to use.
  2. Secondly, the Anaconda Desktop user interface is relatively easy to learn.
  3. Finally, Anaconda has a number of packages and libraries that are essential for carrying out the most basic tasks.
On Windows On Mac On Linux
Python https://www.python.org/downloads/ sudo apt-get install python
Spyder https://docs.spyder-ide.org/3/installation.html sudo apt-get install spyder
Python and Spyder installation commands

b) Virtual environment

Once python has been installed, it is important to create a virtual environment.

What for?

It is important to ensure that only the packages you are using are installed in your environment. The virtual environment allows the Python interpreter to integrate installed libraries and scripts in isolation.

Virtualenv (venv) is one of the most widely used tools for this. In most versions of Anaconda, it is pre-integrated. If not, you will need to download it before creating a new environment in the project folder.

CPA (cost per acquisition): What is it? What is it used for?
The benefits

You can create and change virtual environments as often as you like. Each of them can have different libraries and associated packages.

You can also create environments in Anaconda quite easily and import the different packages you need directly by searching and installing them.

How do we do it?

There are specific commands for using, activating and deactivating a virtual environment from the terminal on your machine:

Windows Mac OS Linux
Creation $ conda create -n nom_env python=3.6 $ mkvirtualenv nom_env
Activation $ conda activate nom_env $ source activate nom_env
Deactivation $ deactivate (nom_env)$ source deactivate

c) Text editors

If you’re working directly with .py python files for script import, for example, there are various text editors available, such as Spyder, VSCode, PyCharm, Eclipse with PyDev, and so on.

We recommend using Spyder or VSCode because they have a built-in Python kernel and a library browser, which makes it easier to check code and manipulate installed modules.

It is also possible to integrate extensions quite easily, for example for formatting code. There are Black and Flake8 for example.

If, on the other hand, you only want to use Jupyter Notebook, you can install the following formatting extensions: AutoPep8, isort, Flake8_nb…


💡Related articles:

Folium: Discover the open source Python library
Matplotlib: Master Data Visualization in Python
Python Crash Course: Get started
Mastering Machine Learning in Python: Data-Driven Success
Python Programming for Beginners – Episode 3

d) Organising the file

The last step before moving on to the project itself is to organise the various python files linked to the project in the same directory (where you created the virtual environment). You will need to add a requirements.txt file containing all the libraries used for documentation purposes.

How do I display all the installed packages? By using the freeze command

display pip freeze

You then need to store all these packages in a file in text format.

display pip freeze > requirements.txt

Now imagine that you want to take over a colleague’s project. To be able to run all his code, you need to install the installed packages locally. It couldn’t be simpler: you can run the following command:

display pip install -r requirements.txt

Conclusion

The aim of this article was to help you configure your production environment. You’ve done it!

You can now tackle any Machine Learning project.

If you’d like to know more about the different stages of a Machine Learning project, we’ll see you in the next article.

See you soon!

You are not available?

Leave us your e-mail, so that we can send you your new articles when they are published!
icon newsletter

DataNews

Get monthly insider insights from experts directly in your mailbox