Find out all you need to know about Python’s virtual environments and the virtualenv library: definition, use cases, operation, tutorial, training…
One of the main advantages of the Python language is its wide selection of third-party libraries and packages. These tools are very useful for data ingestion or transformation, or for high-speed mathematics or Machine Learning.
However, sometimes several packages are not compatible with each other. This is also the case between several versions of the same extension. To remedy this problem, we use virtual environments.
💡Related articles:
What is a Python virtualenv?
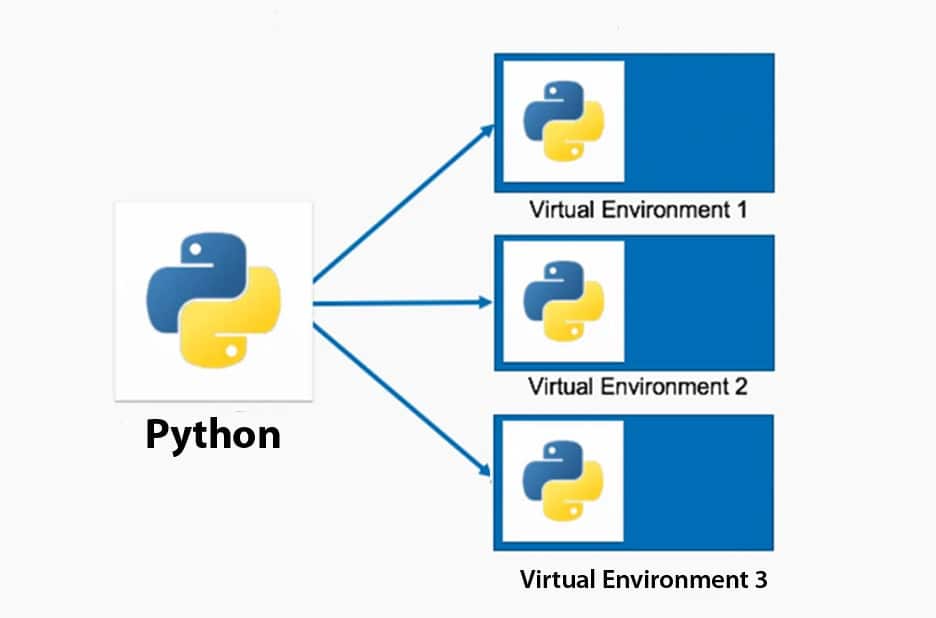
A virtual environment, or virtualenv, lets you run multiple parallel instances of the Python interpreter. Each of these instances has its own set of packages and configurations. Each virtual environment also contains a copy of the Python interpreter.
The packages installed in each environment are seen only in that virtual environment and nowhere else. Even the largest and most complex packages can be unbundled within virtual environments.
What is the purpose of a Python virtualenv?
A Python virtual environment can be useful in many situations. The most common use case is the development of multiple projects requiring different versions of the same packages, or a project needing to be isolated from certain packages due to a namespace collision.
Another common use case is working in a Python environment where it is impossible to modify the site-packages directory. This may be a highly controlled environment, such as managed hosting, or a server where the choice of interpreter and packages cannot be changed due to production constraints.
In addition, a virtualenv is useful for experimenting with a specific combination of packages in highly controlled circumstances. The aim may be to test compatibility between these packages.
Finally, a virtual environment allows you to run a basic version of the Python interpreter without third-party packages on a system, and to install packages only to meet the individual needs of each project.
As an alternative, it is also possible to unpack a Python library into a project’s subfolder, or download a separate copy of the Python interpreter and unpack it into a folder to run the required scripts and packages.
However, managing such projects with packages with binary components and third-party dependencies can quickly prove difficult. It’s also complicated to reproduce such a configuration on another machine. So the best long-term solution is to use Python’s virtual environments.
How do you create a virtual environment?
To create a virtual Python environment in a folder, simply type “python -m venv /path/to/directory”, specifying the folder name instead of “directory”.
If your system recognizes a version of Python 2 as the default Python interpreter, type “python3” instead of “python”. On Windows, you can use “py” instead of “python” to access an installed version of Python.
The process of creating a virtual environment takes between one and two minutes. When it’s finished, you’ll be presented with a folder containing several subfolders.
The most important sub-folder is “bin” on Unix or “Scripts” on Windows. This is where you’ll find a copy of the Python interpreter for the virtual environment and its utilities.
Each virtual environment contains its own copy of the Python interpreter, and can therefore be unwieldy. A Python 3.9 virtualenv consumes between 15 MB and 25 MB of disk space, depending on the operating system.
How do I activate virtualenv?
Once the virtual environment has been created, it must be activated before it can be used. Once activated, this virtualenv will remain the default Python interpreter for the duration of the shell session.
Depending on the operating system and command shell used, different syntaxes are required to activate the environment.
On Unix or macOS, use the command “source /path/to/venv/bin/activate” with the bash shell. Add “.csh” if using the csh shell, and “.fish” if using the fish shell.
On Windows, use the code “path\to\venv\Scripts\activate.bat” with the command prompt and “path\to\venv\Scripts\activate.bat” with PowerShell.
Note that the activated environment works only in the context in which it was activated. For example, if you run two instances of PowerShell and activate virtualenv in only one of them, it will only apply to that instance.
Many IDEs (integrated development environments) automatically detect and activate a virtual environment if it is located in the current project folder. This is the case, for example, of Microsoft Visual Studio Code with the Python extension. Simply open a terminal in Visual Studio Code to automatically activate the selected virtual environment.
💡Related articles:
How to set up and use the virtual environment?
Once you’ve activated the new virtual environment, you can use the pip package manager to add and modify its packages. You’ll find pip in the “Scripts” subfolder on Windows, and in the “bin” subfolder on Unix.
Make sure you use the pip instance managing packages for the virtual environment in the context in which it has been activated. This could be a bash or Windows CLI/PowerShell session, for example.
To check that you’re using the right pip and the right virtual environment, type “pip -V” and check that the path displayed leads to the subfolder of your virtual environment.
To use the virtual environment you’ve created to run Python scripts, simply invoke Python from the command line in the context in which you’ve enabled it.
How do you manage packages in virtual environments?
When you create a new virtual environment, the pip and setuptools packages are installed. However, it is necessary to install all the other packages you wish to use in the environment.
For projects with complex requirements, keep a list of the required elements in the form of a “requirements.txt” file in the project root. If you need to recreate the virtual environment, you can reinstall all the required packages with the “pip install -r requirements.txt” command.
Copies of pip and setuptools are local to the virtual environment. Each virtualenv has its own copies, which need to be updated and maintained independently. As a result, you may receive alerts indicating that pip needs to be updated in some environments.

How do I disable the virtual environment?
Once you’ve finished using the virtual environment, you can terminate the session you were using it in. If you wish to continue working in the same session with the default Python interpreter, type the command “desactivate” at the prompt.
Windows command prompt users should run “deactivate.bat” from the Scripts subfolder. With PowerShell on Windows or OS Unix, simply type “deactivate” in any folder.
How do I update virtual environments?
If you update the Python runtime on your system, virtual environments are not updated automatically. This is because a change in Python version can interfere with the operation of packages.
In the case of a minor Python update, you can update the virtual environment by typing the command “python -m venv /path/to/venv –upgrade” in the project folder command prompt. Be sure not to activate the virtual environment beforehand, as the update may not work.
If you have installed a major Python update, you will need to create a new virtual environment using this version of the language. Do not attempt to update the virtual environment in this case.

Virtual environments on Python 2
Under Python 2, virtual environments are not a native feature. Third-party libraries must be installed to create and manage them.
The most popular and widely used library is virtualenv, which allows you to create a folder structure and copy the required files into a virtual environment.
To install this library, simply use the “pip install virtualenv” command. To create a virtual environment folder, type “virtualenv / path/to/directory”.
Activating and deactivating virtual environments works in the same way as for modern virtual environments in Python 3.
Keep in mind, however, that it is not advisable to use Python 2 for new development projects. This older version of the language should only be used to maintain older projects, until they can be migrated to Python 3.
Python virtualenv and Jupyter notebooks
If you’re using Jupyter or IPython notebooks, create and activate your virtual environment, then type the command “pip install ipykernel” to add the components required for IPython.
Finally, type the command “ipython kernel install -user -name=”. Replace “projet_name” with the project name. You can now launch Jupyter and switch to the IPython kernel installed in the virtual environment.
How do I learn to program in Python?
Mastering Python is a highly sought-after business skill. However, there are many subtleties to this language, such as virtual environments.
To acquire this expertise, you can choose DataScientest. All our training courses include a module dedicated to Python programming.
You’ll learn the fundamentals of the Python language, as well as Data Science libraries such as Pandas and NumPy. Other modules cover data analysis, DataViz, Machine Learning and Business Intelligence.
By the end of your chosen course, you’ll have all the skills you need to work as a Data Scientist, Data Analyst, Data Engineer or Data Manager.
All our courses are distance learning, using a Blended Learning approach combining coached learning on our online platform and Masterclasses. You can choose between an intensive BootCamp mode or Continuing Education.
For financing, our organization is eligible for funding options. Don’t wait any longer and discover DataScientest!


