
Discover how to create a free learning environment to master Power BI Service with the Microsoft 365 Developer Program. Get hands-on experience with fifteen pre-configured accounts and explore all the features without the need for expensive licences.
Power BI Desktop is the essential tool for developing a Power BI project. It enables you to use the three main building blocks of a Power BI project:
- Power Query: the tool responsible for retrieving, transforming and loading data
- Semantic model: semantic layer, also known as the “data model”.
- Report: to present the data to the user visually and dynamically
Once the project has been developed, it needs to be made accessible throughout the company. That’s where the Power BI service comes in: it’s the SaaS part of Power BI that, among other things, enables content (semantic models, reports, dashboards, etc.) to be shared within the company.
While downloading Power BI Desktop is quick and within everyone’s reach (provided you have Windows 😊), working with Power BI Service is more complicated, as it requires you to have a Microsoft 365 address (business or school) available, which is not the case for all Power BI neophytes.
Add to that the fact that some features require a specific licence, and it’s easy to see why learning Power BI can be a bit tricky.
With this in mind, Microsoft has set up a specific programme to enable anyone who wants to do so to practise in a ‘real-life’ environment, for learning purposes.
The Microsoft 365 Developer Program allows developers to create a sandbox environment in which they can train on the tools in the Microsoft 365 ecosystem, completely free of charge.
Among other things, this environment allows developers to play with the Power BI service and learn how to use it fully, without having to pay for a licence!
In concrete terms, by activating this programme, you will be able to create an entire ‘sandbox’ environment for a fictitious company, free of charge, with around fifteen pre-created accounts, all with a ‘Microsoft 365 E5’ licence, offering a host of features!
Note that the environment is created for an initial period of 90 days, which is automatically extended by 90 days if there is any activity in the environment.
💡Related articles:
Here’s how to create this sandbox environment:
1. Register for the Microsoft 365 developer programme
Go to the following link: https://developer.microsoft.com/en-us/microsoft-365/dev-program
2. Log in with a personal Microsoft address
Here, you need to enter a personal Microsoft address (@live.fr, @hotmail.fr, etc.), then enter the password.
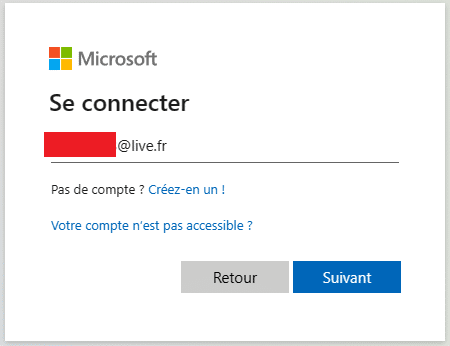
Note: If you have a personal address that is not managed by Microsoft (gmail or other), you will need to create one first using the button just below.

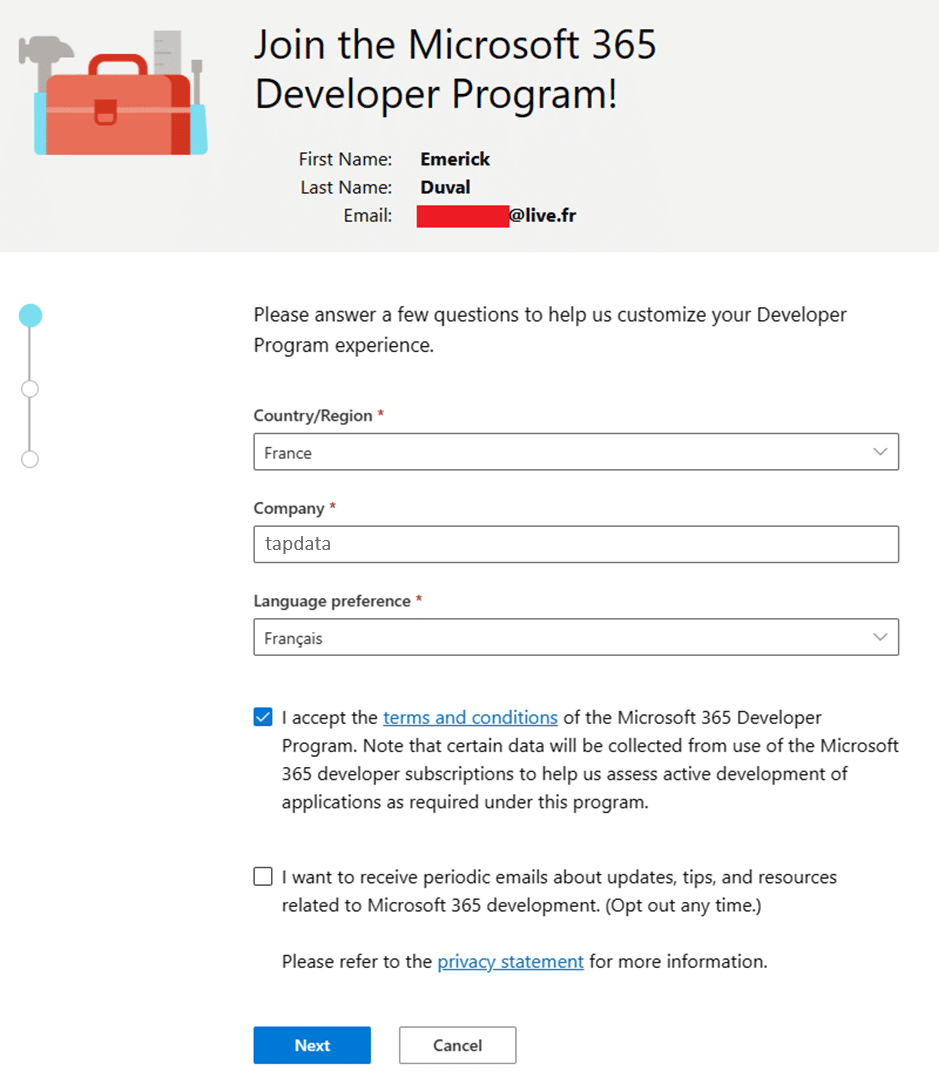
3. Fill in the information requested
On the next page, make sure that your personal address is entered at the top. Then fill in the form below.
Note: the “Company” field is the name of the fictitious company for which you want to create a sandbox environment. Here, we choose the company name “tapdata”.
Tick the box for the terms and conditions, then click “Next”.
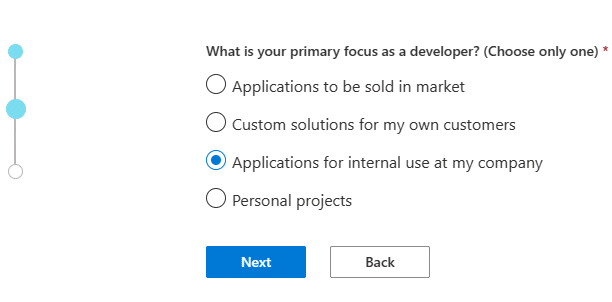
On the next page, you will be asked to specify your main objective as a developer. Choose the one that best corresponds to your situation.
Click on “Next”.
You are then asked to specify the elements of Microsoft 365 that interest you most. Select at least “Power Platform”, because Power BI is one of them.
Click on “Next”.
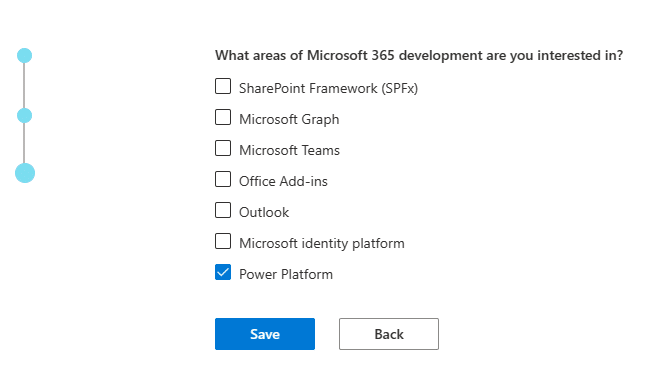
Click on “Save” to send the form.
4. Configuring the sandbox
On the next page, two configuration modes for the sandbox are shown.
It is possible to configure from A to Z, which can be a bit time-consuming.
Instead, choose the first option, ‘Instant sandbox’, which will create the environment with a set of preconfigured elements (users with their emails, allocation of licences, etc.).
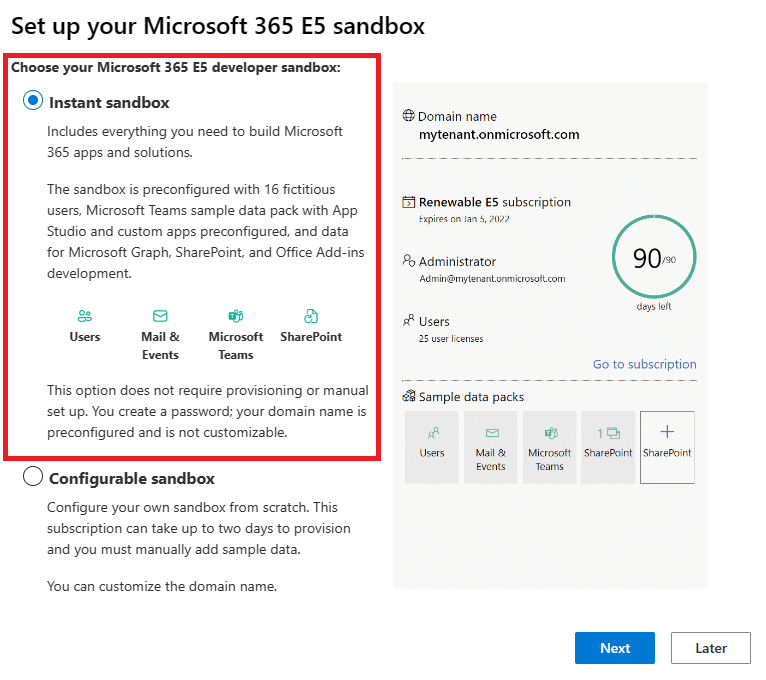
Click on “Next”.
5. Setting up the tenant
In the next stage, we are about to finalise the creation of the fictitious company’s “tenant” in a Microsoft data centre.
Note: a tenant is a private cloud in which the company’s data will be hosted, so each company has its own private space in the cloud.
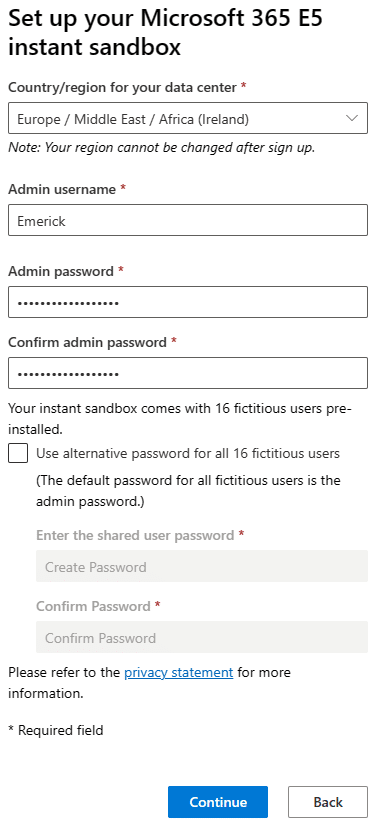
First you need to choose the location of the data centre. Choose “Europe”.
Next, the name of the user who will act as the tenant’s administrator is requested.
This name will then determine the address that will have full administrative rights over the tenant.
In this case, the user’s name is “Emerick”, so the address of the administrator account will be “Emerick@tapdata.onmicrosoft.com”.
Choose a strong password, and remember it, because it will be the password not only for the administrator account, but also for all the other pre-created accounts on the tenant!
Click on “Continue”.
6. Configuring a dual authentication method
The initial configuration requires double-level security.
You will need to enter a telephone number for this final stage.
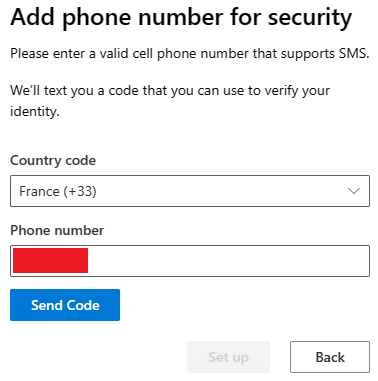
Note: once the tenant has been created, it will be possible to remove this double authentication.
Once you’ve received the code by text message and validated it, you’re done. The tenant has been successfully created!
The last screen provides you with a summary of your tenant, including a reminder of the address that will have full administrative rights over the tenant.
This address can be used to connect to the Power BI service.
7. Connecting to the Power BI service
To access the Power BI service, simply log on to the following link: https://app.powerbi.com/
You will be asked for an address, so you will need to enter the new address you created in the previous step, which ends with onmicrosoft.com.
Note: under no circumstances should you use your personal address, as it will not work because it is not a business address at all.
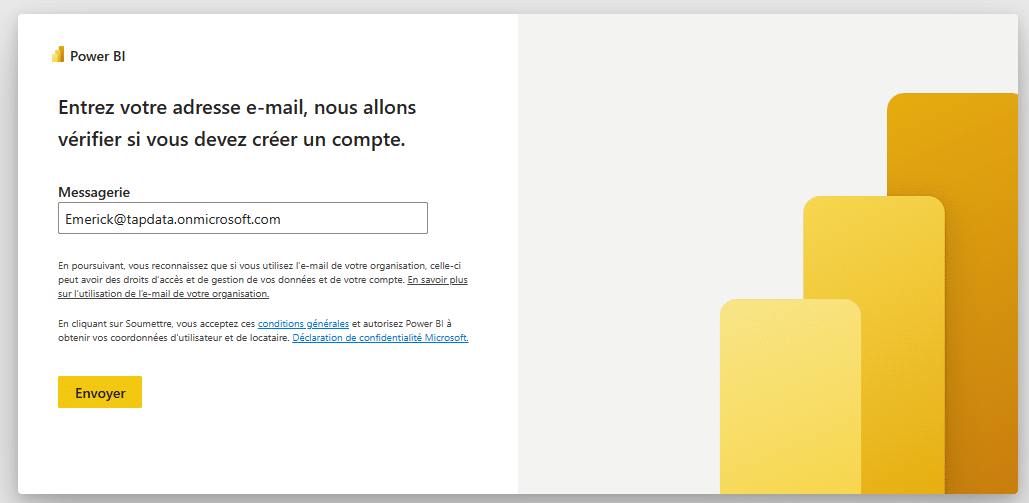
Then enter your password.
You will then land on the Power BI service.

At the top right of the screen, you can access your profile.
By clicking on it, you’ll see that you have a ‘Pro’ licence, and it’s even possible to move up to the next level with a ‘Premium per user’ licence by starting the trial period.
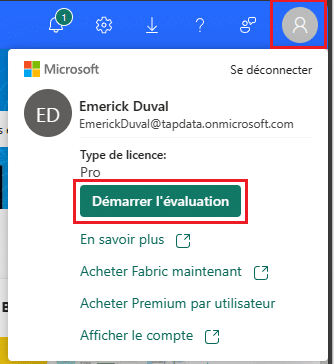
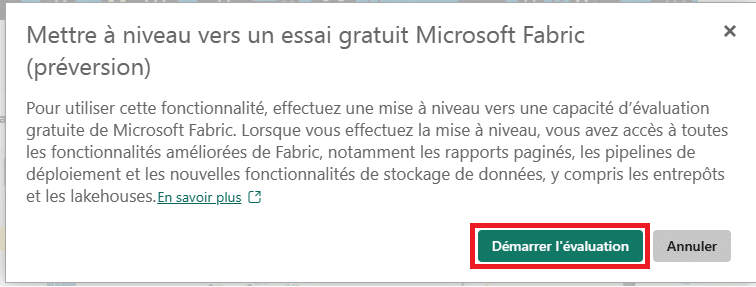
This type of licence will allow you to use some of the more advanced features not available with the Pro licence. If you want to discover the Power BI service in its entirety, this could be worthwhile!
Finally, note that it is possible to log in with any of the fifteen other accounts that have been automatically generated by the environment (same password as the main account).
This is very useful for testing security features, to understand who can see what with which role.
The list of pre-created users can be viewed at the following link (provided you are logged in with the admin account you created earlier): https://admin.microsoft.com/Adminportal/Home#/users
You now have all the keys you need to use the Power BI service in ideal conditions. 😊


